Now, I do not have time neither, but I want to do this, otherwise we will not move forward. So against the clock let's start the project: Lighting words utilizing my Lilipad. (note: I confess, I am also thinking how to re-use my Lilipad as I only have one).
The first plan towards the lighting words is to create the "hardware" where the advertisement will be. In this case, I use an empty box where my business cards were delivered, that is, it is a relatively small box.

So from that box, I cut a rectangle from the cover (see next photo). In this hole I will put the paper with the word I want to light.

Next I test 4 LEDs (next photo), which were programmed according on how I want them to turn my lighting words on and off.

Once I was happy with the sequence of my LEDs, then I transfer them to the box. Each LED was firmly glued to its corresponding location inside the box as it is shown in the picture:

Afterwards with conductive ink, I made the connections between the LEDs

Behind the box (next photo) I connect the corresponding elements to the Lilipad via a conductive thread.

You can see in the next photo how the thread is sew to the ends of the LEDs as it corresponds (+) and (-)

Next, with vellum paper (i.e. translucent paper) to write the words to illuminate:

After writing the words I located the paper behind the whole of the box.

to be able to close the leap of the box and let the LEDs to illuminate the sign.

Then I turn the Lilipad on and voilà! the words get inluminated.
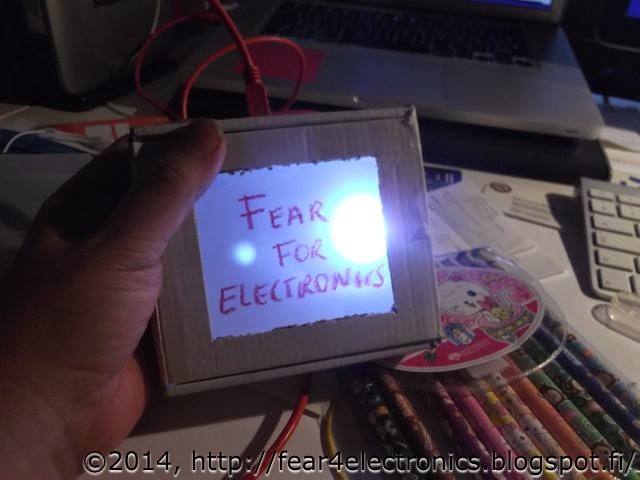
Need to work with balancing the impedance of the LEDs, but that will be done in my return.
Great I was able to do this in short period of time!
====
F4E by CAIS